As technology advances, so does the way we protect our homes. Smart door locks have emerged as a popular and convenient option for homeowners who want to enhance their home security. Unlike traditional locks, smart door locks allow you to control access to your home remotely through a smartphone app.
Let us walk you through the installation and setup process for your smart door lock, whether you're new to smart home technology or looking to upgrade your home security. Moreover, we will provide troubleshooting tips for common installation issues, so that your lock runs smoothly and efficiently.
Before you start, ensure that your smart door lock is compatible with your door. Most smart door locks fit standard door sizes, but it's best to double-check before making a purchase.
Tools Required for Smart Door Lock Installation
- Power Drill
- Masking Tape
- Phillips Driver PH2
- 25MM Chisel
- 22MM Spade Bit
- 18MM Spade Bit
- 12MM Spade Bit
- 3MM Drill Bit
- 38MM Holesaw
- Pencil
- Tape measure
- Hammer
How to Install a Smart Door Lock
Here's a detailed guide on how to install your smart door lock:
- Identify the opening direction (of the door) before installation
- Depending on the door opening, orientate the latch as required to align with the strike plate
- Change the direction of the handle as required
- Unload and remove the reversing screw (on R or L side) Rotate handle by 180°
- Faster the reversing screw to the opposite side
- Put the mortice into the hole and keep the latch bolt upwards. Then faster the mortice lock with screws.
- Push the spring in and find the spindle to the clutch on front plate
- Put the bus bar end of the cable through the door hole from outside to inside door and put the spindle into the hole
- Connect the cable of the back plate with the bus bar end of the cable. Align the back handle to the spindle and fix the back plate with screws.
- Put the strike plate cup and strike plate in right place and fasten them with screws.
Watch our Installation videos here:
Installation video for new doors
Retro-fit installation video for existing doors (replacing your current lock)
Troubleshooting Common Installation Issues
1. Minor scratches or abrasions on the panel
- Carefully remove the protective film
2. No response on the keypad after installation -
- Check and ensure the connector between the front and rear door handle is properly plugged in and connected
- If the door lock worked with the power bank, remove the Phillips head screw holding the battery cover in place. Ensure batteries are installed; if they were, replace batteries and refit cover
3. Low battery warning -
- Replace batteries and refit cover
4. Door is locked and the batteries are confirmed flat
- Manually unlock the door by inserting and rotating the supplied key into the key barrel located at the bottom of the lock. Turn the handle to open the door.
5. Alarm activated, cannot unlock the door, countdown timer displayed on the screen
- Wait 90 seconds for the lock timeout to expire. The timer is visible on the lock display. Once expired, use the correct passcode, fingerprint or swipe card to unlock successfully.
- Manually unlock the door by inserting and rotating the supplied key into the barrel located at the bottom of the lock. Turn the handle to open the door.
6. The door is not automatically locking after 5 seconds from the correct password
- Ensure passage mode is disabled
7. The deadbolt will not come out of the lock body when I lift the handle up
- Check spindle if it is installed correctly
- Check strike alignment
- Contact customer support
8. The Key Override does not work
- Check that the key is fully inserted prior to turning
- Visually inspect the key for damage
- Check that the key is being turned in the correct direction
For complete guide and instruction, please refer to the Instruction Manual.( 7 - Troubleshooting notes)
Setting up and Pairing the Smart Door Lock with a Smartphone App
- Download the Mobile App
- Download the Grid Connect app from the Apple Store or the Google Play Store (or you can scan the QR code on the Instruction Manual template)
- Account Registration
- Pair the lock with the mobile app
For complete instruction and troubleshooting tips, please refer to the Instruction Manual ( 6 & 7.2 )
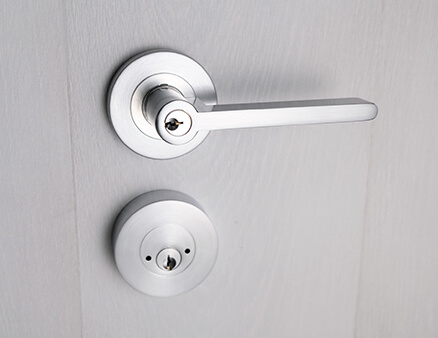
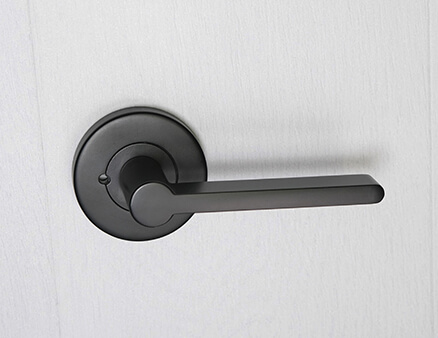
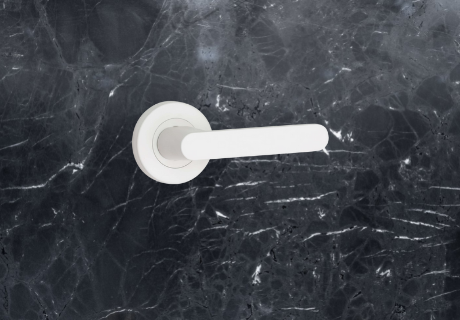
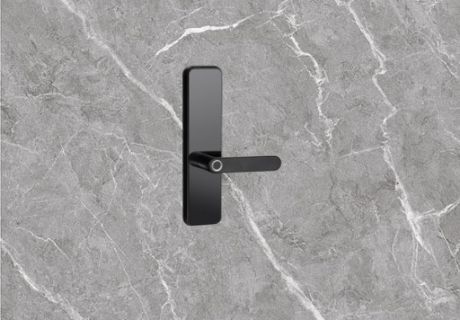
Lemaar's New Smart Lock Range
If you're looking for a stylish and sophisticated option, consider Lemaar's new smart lock range. With their Rectangle and Radius electronic locks, you can match internal handles for a complete solution across your home. These locks are easy to install with guidance from the installation video, making them a perfect choice for DIYers. The Lemaar front door digital lock includes multiple functions for seamless use and is compatible with the Grid Connect smart home platform, allowing you to control and customize your smart lock with ease. With a market-leading warranty, Lemaar's electronic door lock range has a quality you can feel.
In conclusion, installing and setting up a smart door lock is a simple and convenient process that can significantly enhance your home's security. By following our guide and using the right tools, you can quickly and easily install a smart door lock and enjoy the benefits of smart home technology. And for a stylish and secure option, consider Lemaar's new smart lock range for your next home upgrade.